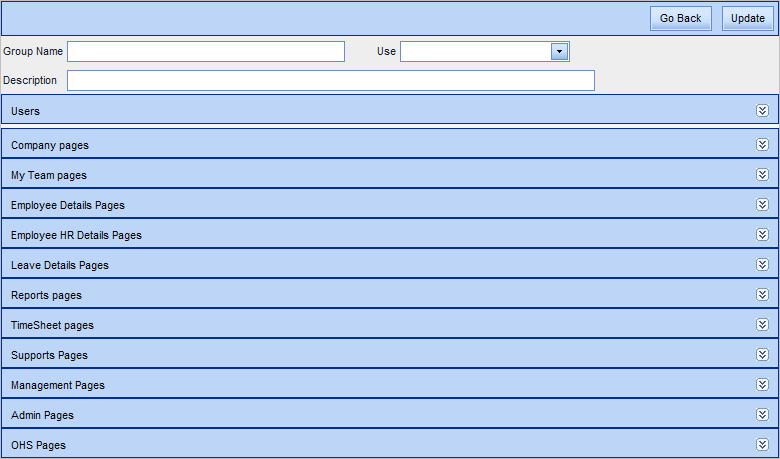
Create New Group
The information here is applicable to creating a new Group for Users, and for amending existing Groups. (Note, to amend an existing group, select it within Admin | Groups. This will display the Pages area for that group.)
For a new group, in Admin | Groups click Add New Group - this displays the Pages area with a blank Group Name and Description.
- Give the group an appropriate Group Name (or acronym) and Description
- If you want to base the permissions for this group on another existing group, select that group from the Use drop-down list.
- For example, you might be creating a second level Manager group and base this on a previously created top level Manager group. Or you may copy the Administrator Group for any new group. Ensure that you make the appropriate changes to permissions, so that you remove items the new group should not be allowed to access.
- Alternatively, you may want to consider beginning at the lower level, i.e. the group with fewer access permissions. Then, when you create the next level, copy the first group (via Use) then add to the new group's permissions. Repeat this for any higher level group. In this way you may be less likely to give a group access to something which should not be accessible.
- Click on the Users bar to expand the section. Work through the alphabetic segments, ticking the Assigned checkbox for each of the users who should be members of this group.
- Each of the Pages sections has tick boxes for the same specifications. Ticking some options will automatically tick others, for example ticking Delete at Company Announcement level should automatically tick the Assign box at the same level.
- Assigned: Ticking the first, top level Assign box (on the top left) will automatically tick all other tick boxes within the same Pages section. Ticking Assigned for a sub-menu will automatically tick the Display option at the same menu level.
- Display: If you just want users to be able to view a certain area, tick the display box for the relevant menu or sub-menu. This will automatically tick the same level Assigned box.
- Add, Edit, Delete: Tick these options if the users in the group should be able to perform any of these functions, within the associated menu.
Note that there may be some screens where kiosk is hardcoded to deny access to add/edit/delete (particularly delete), despite permissions having them switched on.
- After you have worked through each Pages section, adding or removing permissions as appropriate, click Update to save changes.

